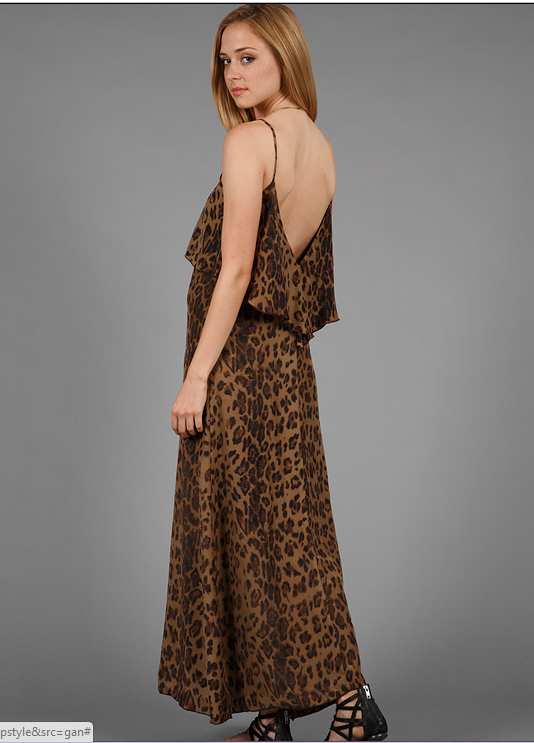
The pictures below are from Aneta. it is a maxi dress from blu-moon .
Aneta wanted to make something similar to this design, only to be two parts, so she can wear the top with shorts, pants or jeans, and the skirt also can serve as a beach wrap.

and.........................after 8 days.....................
Tomorrow, Aneta is flying to Hawaii to spend her Christmas holiday there with a beautiful set of dresses (2 tops and 1 skirt) inside her smart suitcase!
they look simple, sexy, feminine and elegant. the fine spaghetti strap design is the key .


here is how I made the straps.

cut bias straps, fold and press

sew at 1/4" along the folded edge to make a tube, to make it stronger, sew twice

cut off extra seam allowance closely along the stitch line.
use strong sewing thread (and double it ),and a thicker needle to stitch one layer of the tube a few times

push the end of the sewing needle inside the tube as a guide to turn the tube inside out.(the harder to do, the finer your spaghetti straps will be )


pull the straps as tight as can be, use sewing pins to secure both ends, press.
WAIT , until they dry.
or, leave them at the iron board until it is the time to put them in your dress.


Enjoy !


I hope you will enjoy this little tutorial and make something for the coming summer..I know it is still winter, but you could feel extra rich to make summer things in Winter.
Of course people dress up in silk dresses in Winter too, only it is not me.
I wish I could get some chances to dress up and chill down in the winter..Imagine ! after long hours drinking in the pub or a hotel or somewhere---after that fun, I'd like to wait for taxies in silks in the winter rain, I do not care, I'd love to!
Thanks for watching.
Happy holidays!
(BTW, please let me know if I have any grammar or spelling mistakes in my Second or Third language)